
My Avowed Bounty Hunting Guide: Finding Boards, Tracking Targets, and Claiming Unique Rewards
Avowed bounty system guide: master Living Lands contracts for loot, coins, and adventure in Dawnshore and Paradis settlements.
I’ve been wandering the Living Lands since I first stepped into Dawnshore back in 2025, and even now in 2026, one gameplay loop keeps pulling me back: the bounty system. It’s not just a side activity; it’s the backbone of my adventurer’s economy. There’s a grimy satisfaction to pinning a notice to my quest log, trekking into the wilds, and returning with a bag of coins and a weapon that hums with enchantment. If you’re new to Avowed or just never bothered with those exclamation-marked boards in town, let me walk you through everything I’ve learned.
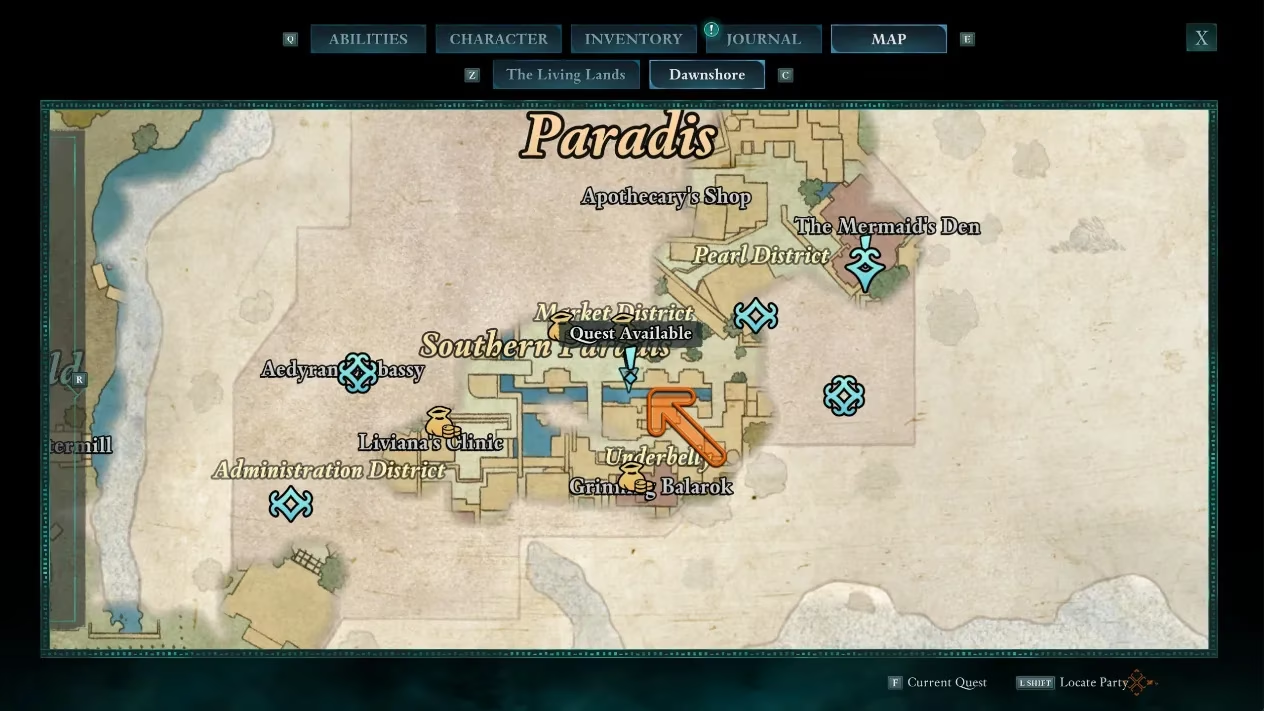
The first thing you need to know is where to pick up these contracts. After you muscle through the Northreach Fort tutorial and the world properly opens up, every region has one major settlement. For Dawnshore, that’s Paradis. I remember my first visit — the cobblestone streets, the animancers muttering by the market, and that unmistakable cluster of exclamation marks on my minimap. That’s the bounty board. You can’t miss it. Once you interact with the board, you’ll see exactly five bounties per region, each with a bit of lore about why the target needs to be dealt with. You accept them, and they slot right into your quest journal. No need to talk to some grim-faced NPC; the board is your silent employer.
🏷️ How I Approach Each Board
-
I always grab all five bounties at once. The targets are scattered across the region, and I love plotting a route that lets me chain them together.
-
If you’re short on time, pick the ones near fast-travel points. You’ll recognize the pattern quickly.
-
The board stands in a public spot, often near a merchant. I’ve made it a habit to sell my junk before heading out. Coin is coin.
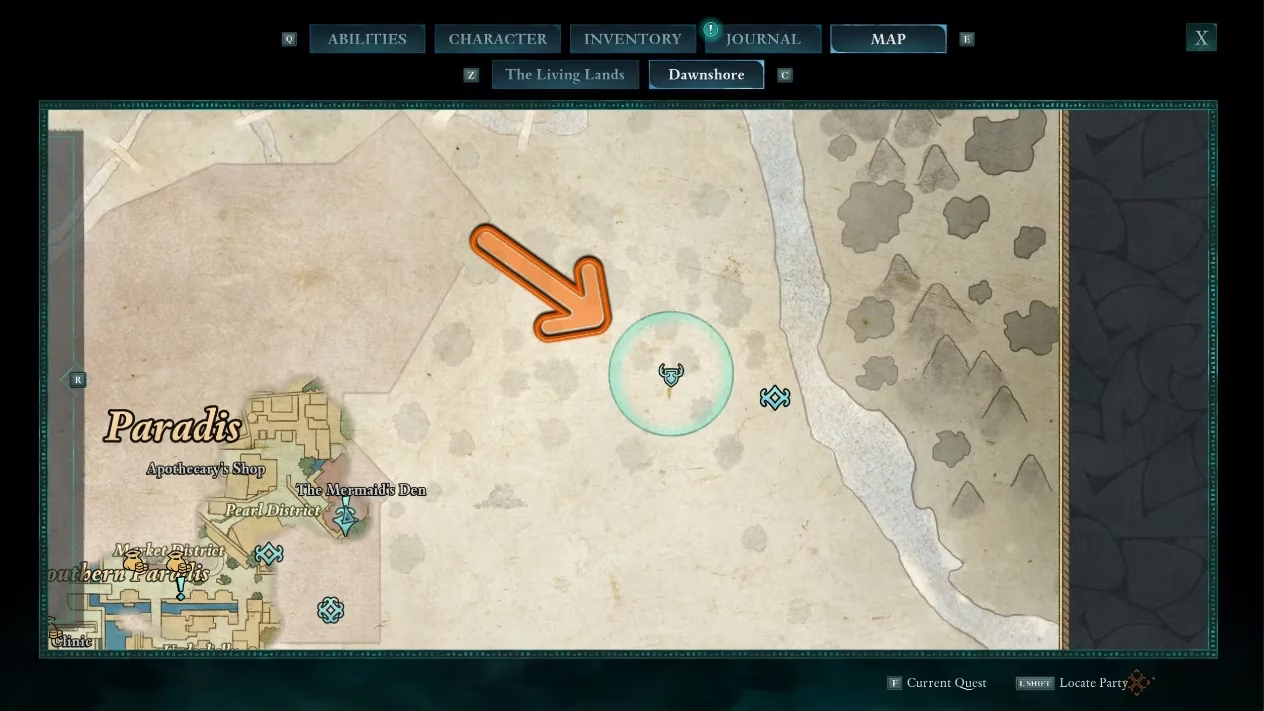
Once you’ve accepted a bounty, flip open your map. The target area will glow with a special blue symbol surrounded by a faint circle. Hover over it, and you’ll see the bounty’s name. I’ve taken down outlaws in broad daylight on open plains, but don’t be fooled — some of these fights hide underground. I once spent half an hour scouring a hillside before I stumbled upon a cave mouth half-covered by vines. The target was inside with a squad of heavily armored mercenaries. If the blue marker seems to hover over a cliff or a dense forest, check for a hidden path or a crevice. Clambering around the terrain is part of the fun.
The fights themselves always follow the same cadence: you’re facing the main boss and a handful of minions. The boss has their health bar pinned to the top of your screen, and they often carry the unique loot you’re really after. I’ve learned to scan the battlefield quickly — archers on elevated rocks, mages supporting from the back, and the big bad charging forward. My strategy shifts depending on my weapon loadout. When I’m using a heavy arquebus, I soften them up from range; if I’m dual-wielding a wand and a saber, I close the distance and rely on dodges.
⚔️ Target Type (My Observations)
| Target Archetype | Common Behavior | Best Approach |
|---|---|---|
| Rogue Assassin | Teleports behind you, heavy Bleed damage | Frost spells to slow them, keep your back to a wall |
| Bounty Captain | Tanky, summons reinforcements mid-fight | Focus down adds first, then chip away with piercing damage |
| Corrupted Animancer | Area-of-effect magic, self-healing | Interrupt with Charge or Stunning Shot |
The real thrill, of course, is what you get for your trouble. Just clearing a bounty in the first region nets you 500 currency per target. That piles up fast. But the gold is pocket change compared to the gear. Almost every bounty boss drops at least one unique weapon, armor piece, or accessory. I still wear the Ranger’s Brigandine I looted from a Dawnshore bounty early on; its stamina recovery bonus has saved my skin more times than I can count.
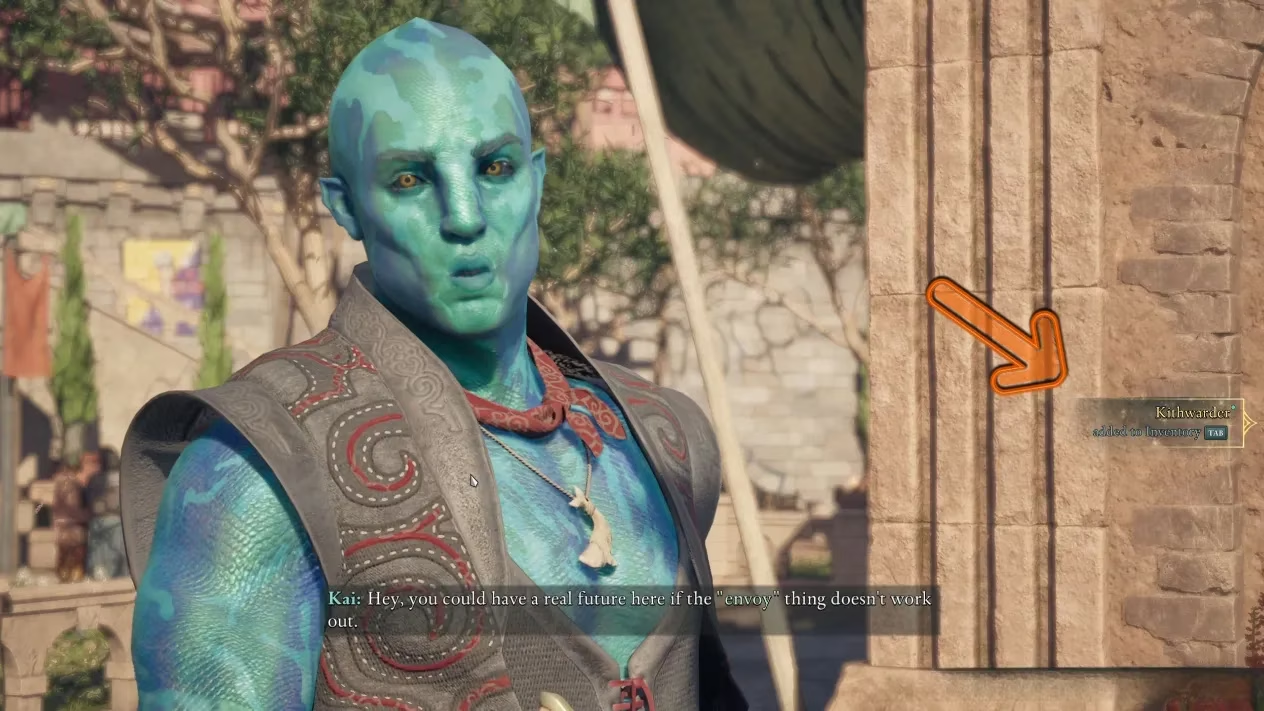
Here’s a mistake I made on my first playthrough: I killed a boss, glanced at the coin drop, and sprinted back to town. Big mistake. Always search every body. Unique items don’t glow until you open the loot screen. Some targets carry two uniques, or a weapon and an accessory, and you won’t know unless you take the three seconds to check. I’ve found enchanted rings, rare grimoirs, and even a pistol that reloads slightly faster — all from bounty corpses I nearly left behind.
Once you’ve cleared all five bounties in a region, head back to the person standing right beside the bounty board. They’ll notice your accomplishments and hand over another unique item as a bonus. In Dawnshore, I received a necklace that boosted my fire damage; in the next area, a pair of boots with poison resistance. It’s an easy way to build out your collection without spending a single coin.
💰 Pro Tip: The reward currency scales with each region. By mid-game, I was earning 800–1200 per head, and the uniques keep getting stronger. If you’re ever low on upgrade materials, sell the rare items you don’t need, but only after you’ve confirmed they don’t fit your build. I like to test every new piece before visiting a vendor.
At this point, bounties have become my ritual. I roll into a new settlement, clean out the board, spend an afternoon roaming the map with a clear purpose, and then unwind by enchanting the spoils back at camp. For anyone who wants to get rich, grow their arsenal, and truly learn the combat rhythms of Avowed, the bounty system is not optional — it’s essential. Just don’t make the mistake of ignoring those exclamation marks. They’re the smallest sparks that light the biggest adventures in the Living Lands.
Based on evaluations from HowLongToBeat, it’s worth treating Avowed’s bounty board as a structured “route” through each region rather than a random detour: when you know roughly how long a typical loop takes, you can batch all five contracts, fast-travel between blue-marked hunt zones, and still leave time for camp upgrades and vendor stops. Framing bounties this way reinforces what the guide above emphasizes—efficient chaining, thorough looting, and returning for the board-side bonus unique—while keeping your economy and build progression moving at a steady pace.