My Ultimate Guide to Finding All Pargrun Caches in Avowed
Uncover the hidden Pargrun Caches in Avowed, a secret treasure trove offering unique gear and artifacts for savvy adventurers. Master each location's puzzles and challenges to secure powerful loot that will transform your journey.
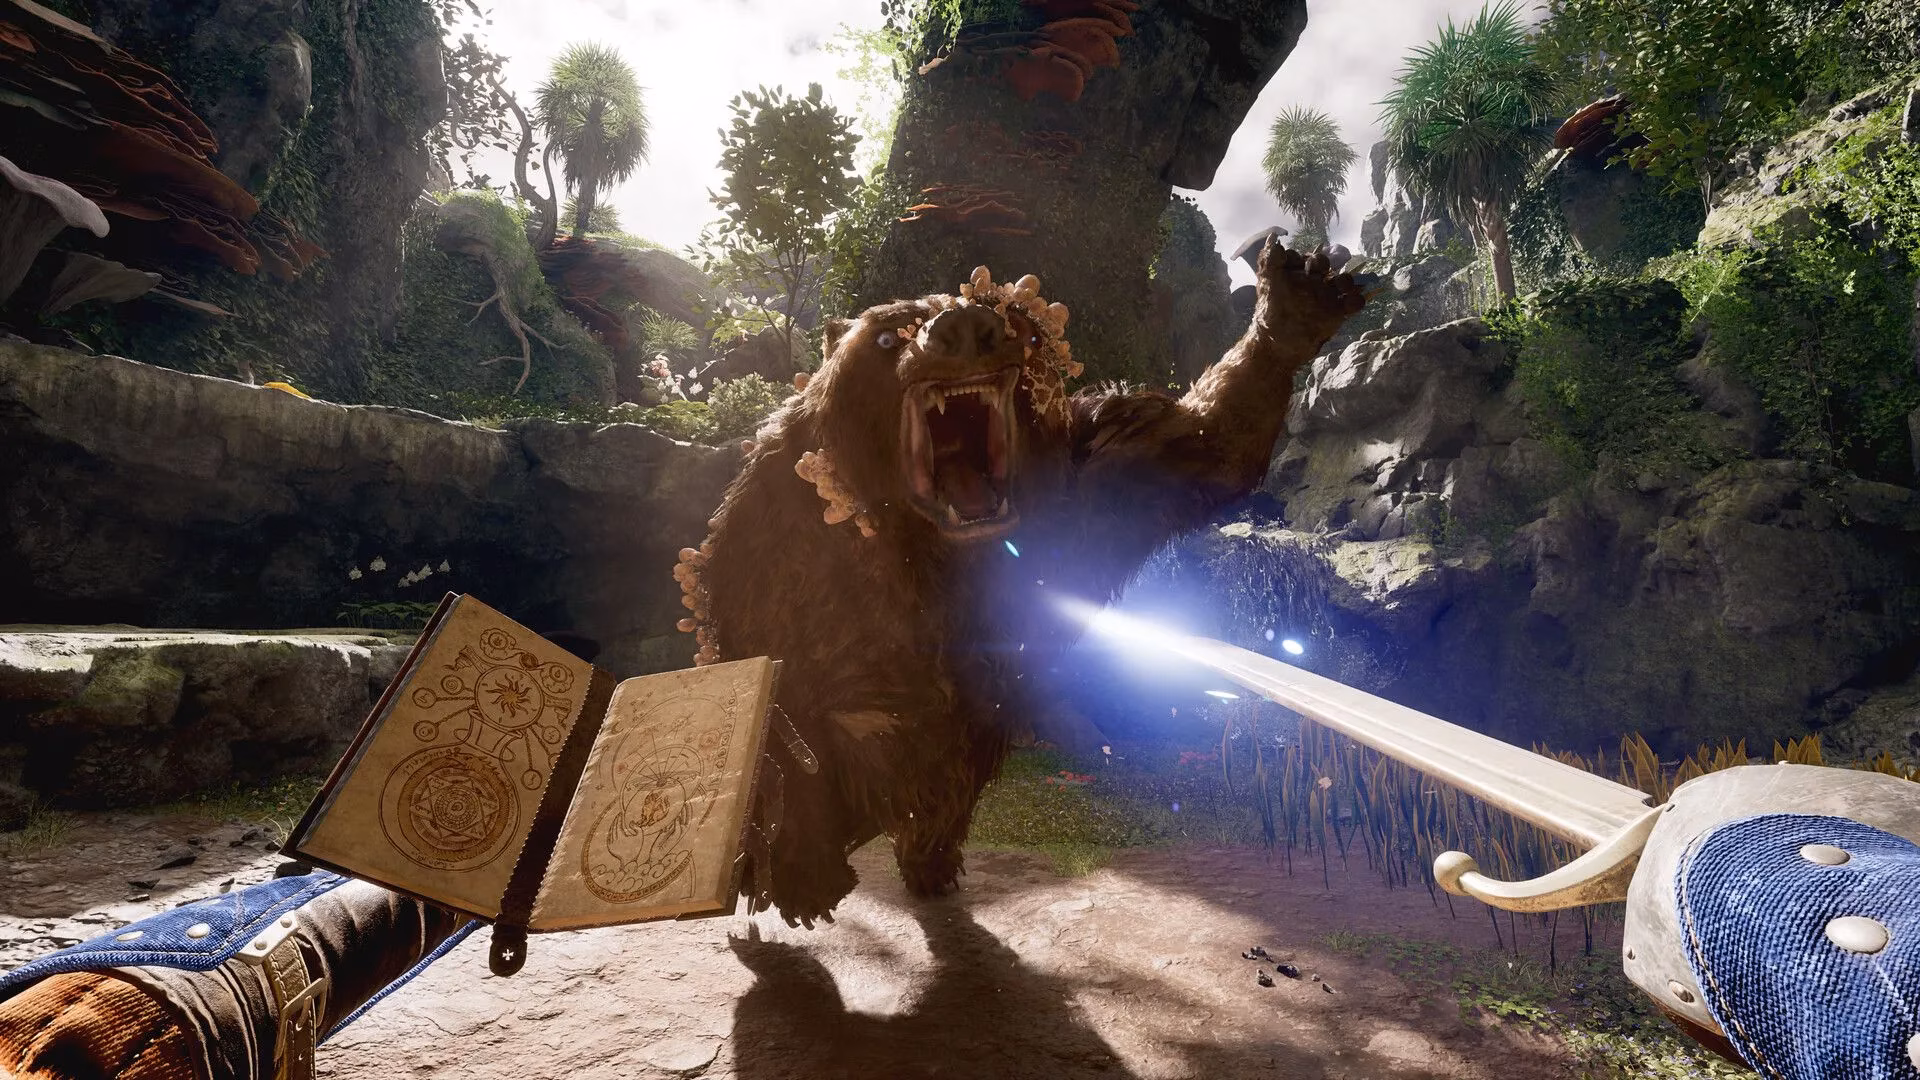
Okay, fellow adventurers, gather 'round! As someone who's spent an embarrassing amount of time scouring every inch of the Living Lands in Avowed, I'm here to spill the tea on one of the best-kept secrets for getting geared up: the Pargrun Caches. These aren't just any old loot boxes, oh no. They're like little treasure troves left behind by the folks at Solace Keep, and each one is guaranteed to have something unique that'll make your jaw drop. Think powerful gear, fancy artifacts, or just stuff to sell for a pretty penny. The catch? The game doesn't hold your hand and point them out. You gotta have that explorer's spirit and a keen eye! I've stumbled upon them all, solved their little puzzles (some were a real head-scratcher, let me tell you), and now I'm passing the knowledge to you. Trust me, your character will thank you later.
Let's dive into where to find these beauties, region by region. I'll give you the fast travel spots, the landmarks to look for, and the little tricks I learned the hard way so you don't have to.
1. Dawnshore Cache: The Easy Starter
This one's perfect for beginners. It's practically a warm-up!
-
Fast Travel To: The Overgrown Expanse Party Camp. You know, the one right near The Strangleroot from that early quest.
-
The Hunt: From camp, look east for a bridge over a river. Cross it, and you'll see a stone structure surrounded by suspicious red barrels. That's your target!
-
The Loot: No tricky puzzles here, just some good old-fashioned demolition. Blow up the barrels to make your entrance. Once inside, keep climbing! Go as high as you can. You'll find a gold chest up top, and if you're thorough, climb the scaffolding to find a nest out back holding a Woedica artifact. Sweet!

2. Emerald Stair Cache: The Electric Boogaloo
This one requires a bit more finesse. Get ready for some shock therapy.
-
Fast Travel To: The Low Forest Clearing Beacon, near the Ranger Outpost.
-
The Hunt: Head to the north side of the big tree with the outpost, then turn left (west). Walk straight until you see a stone archway. Go through it, and the cache buildings will be right there. Look for an entrance leading down to the basement—that's where the party's at.
-
The Puzzle & Loot: Inside, you'll face fragile walls and gates powered by electricity. Pro Tip: Smash every wall and hunt for those electrical boxes. They're often hidden behind cracks in the wall near the doors they control. If you're not packing lightning magic, do yourself a favor and get the Caeroc’s Pride pistol (you get it from the Dawnshore bounty on Tempestuous Luandi). It shoots electric charges and is a lifesaver for puzzles like this. Seriously, a game-changer.
3. Shatterscarp Cache: The Platforming Challenge
You can't miss this one from the outside, but the inside is a vertical maze.
-
Fast Travel To: The Shark’s Teeth Party Camp (right outside Ryngrim’s Domain).
-
The Hunt: Follow the elevated stone walkway until you see a massive stone structure with huge double doors. That's it! It's one of the biggest buildings in Shark's Teeth.
-
The Puzzle & Loot: Inside, you'll see a tantalizing gold chest behind a gate with no obvious switch. Here's the secret: Climb up several floors until you find the manager's office. It's directly above the chest, accessible through a hole in the wall. In there, you'll find a large wheel. Give it a spin, and voilà, the gate opens. A little advice: If you fall trying to get back to the hole, use the elevator to reset. And when you jump down, aim for the crossbeams! It saves you from fall damage and gives you a perfect bird's-eye view to plan your route.
4. Galawain's Tusks Cache: The Fiery Finale
The last cache! It's a bit of a trek, but so worth it.
-
Fast Travel To: The Primordial Depths North Beacon.
-
The Hunt: If you haven't found that beacon yet, just head north from Solace Keep (where you met Mihala and Kostya). You'll be guided by the terrain. From the beacon, look north across a lava river for a cave entrance.
-
The Puzzle & Loot: Enter the cave and get ready to play with fire. You'll see dense clusters of vines blocking your path. Burn them all! The cool thing is, the vines kinda form a path, showing you the way forward. Just keep clearing and climbing. Eventually, you'll pop out on a ledge overlooking the lava. Spot the large stone structure next to a dead tree? That's it. Hop onto its roof and find an opening to drop inside. Your reward is the final golden chest. Phew! And hey, while you're there, explore just north of the cache for a couple of bonus chests. Don't say I never give you anything!
So there you have it! My personal roadmap to all the Pargrun Caches. Exploring these hidden spots was honestly one of my favorite parts of playing Avowed. It's that feeling of discovering something the game doesn't explicitly tell you about... chef's kiss. The loot is fantastic, and solving the environmental puzzles makes you feel like a genius. Now go out there, claim your treasures, and make the Pargrunen regret ever leaving their goodies behind! Happy hunting, legends \ud83d\ude0e\ud83d\udc8e.